Tag Archives: manicure

After Christmas Nails

Hi lovelies, hope you all had a very Merry Christmas and Santa delivered everything you dreamed of! I was a lucky ducky and had some nail varnish! My gorgeous fella got me the Nails Inc Top 10 Collection
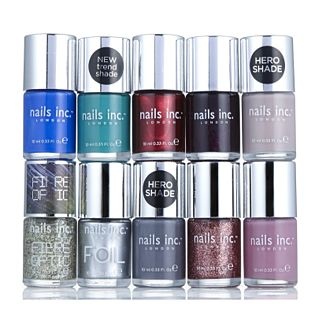
20131227-021015.jpg The colours included are:
❤ Baker Street – cobalt blue
❤ Queen Victoria Street – emerald green
❤ The Boltons – deep red metallic
❤ Crown Court – deep purple metallic
❤ Porchester Square – classic nude
❤ Chelsea Passage – gold fibre optic
❤ South Kensington – silver foil effect
❤ The Thames – cool grey
❤ Chelsea Square – rose glitter
❤ Bruton Street – antique rose cream

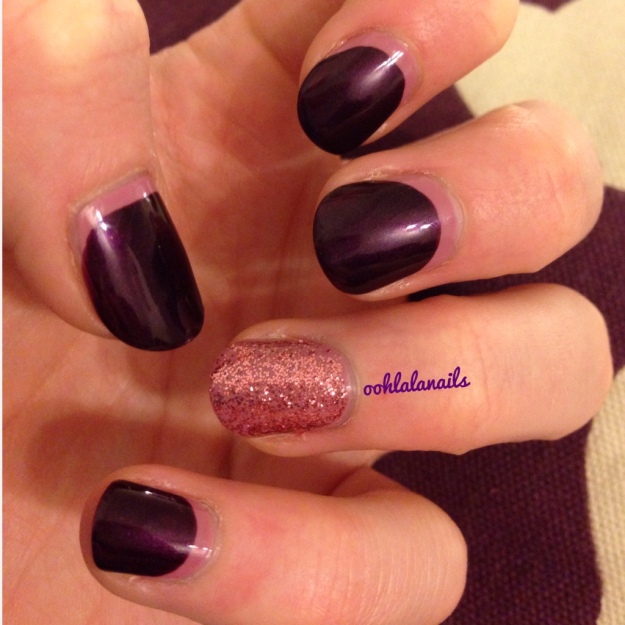
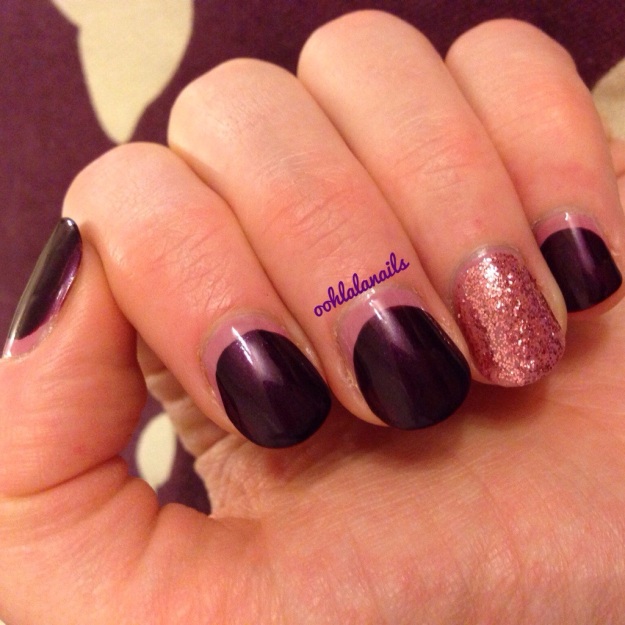
I painted a ruffian mani today using:
❤ Bruton street
❤ Crown Court
❤ Chelsea Square
❤ Seche Vite

20131227-021727.jpg

20131227-021736.jpg

The colours are gorgeous and my nails are much shinier than the picture shows. Thank you Santa!

What do you think? Did you have any polish from Father Christmas?

Nail Challenge Day 13: Ruffian

Hi all and welcome to Julie’s 30 day nail challenge and today the theme is ruffian.

20130413-074108.jpg
First I painted 1 coat of silver polish and 1 coat of holographic prism. Then I used Barry M ‘navy’ to paint over the top.

20130413-074250.jpg

20130413-074311.jpg

20130413-074331.jpg

I then used glequins on my index and ring finger in blue too-they are hard to see in the pictures but were really sparkly. I love this mani, it looks glamorous and for my first ruffian, I am proud I got the lines straight yay!

Nail Challenge Day 4: Green

Hi fellow nailoholics and welcome to the fourth day of Short and Sweet’s 30 day nail challenge! Today the theme is green.

20130404-044642.jpg

20130404-044658.jpg

I chose Avon 30 second speed dry ‘sprightly mint’ polish as a base coat and then stamped, yes, stamped the scaley pattern on each of my nails.

Now all of you brilliant stampers will wonder what the fuss is about, but if you know about me and my lack of stamping skills, then you will know that me doing each nail FIRST TIME is a huge achievement for me!!

When I had stamped I then used a coat of Rimmel’s Matte pro wear top coat to mattify my nails. I love this mani, because of my stamping victory, yippee! :)

WordPress App…

Something very weird just happened to my WordPress app, and it appears that I have I unfollowed some people unintentionally :(

On a more naily note, I will have got 3 days out of my Easter mani by tomorrow, and I am searching for inspiration for my next mani. I am off to see Pricilla Queen of the Desert on Saturday, so will have to think of a colourful mani for then! I have ordered some more glitters off Amazon UK…they just fell into my basket, oops!

Cannot wait!

Feather Mani #1

Here is a feather mani that I was inspired to do by the Nailasaurus – amazing tutorial here.

I went to HobbyCraft and purchased some feathers to try out my little experiment.

20130317-213845.jpg

If you follow the tutorial on the Nailasaurus you can see exactly how to prepare your feather and stick it to your nail.

Here is my first attempt:

20130317-214010.jpg

I love the effect! I also used Angelic Rainbow Glitter and Rimmel Matte Pro to create an unusual effect!

20130317-214115.jpg

Mix it up mani

I decided to file my nails into a square shape for a change. I generally like my nails in a more rounded shape but I like a change every now and then! After preparing my nails, I painted Barry M black and Avon Nailwear Pro peach on my thumb and ring finger. Then I stamped a swirl pattern in black on my thumb and ring finger with my bundle monster stamping plate. I really like this mani, it looks fabulous if I do say so myself!

20130317-212149.jpg

3D Mani

I had wondered about this new 3D mani for a while and ooh’d and aah’d about getting a kit. Then I found one in Primark for £2.50 and thought it was a fabulous excuse to experiment! In the set is a pink nail varnish and a bottle of mini balls to create the 3D element. It is quite easy to apply. You paint two coats on your nails with the colour provided. While the polish is tacky, tip the balls on the chosen nail and gently press the balls into the nail polish. Then once all are secure, paint a generous coat of topcoat on. I was quite impressed!

20130317-175625.jpg